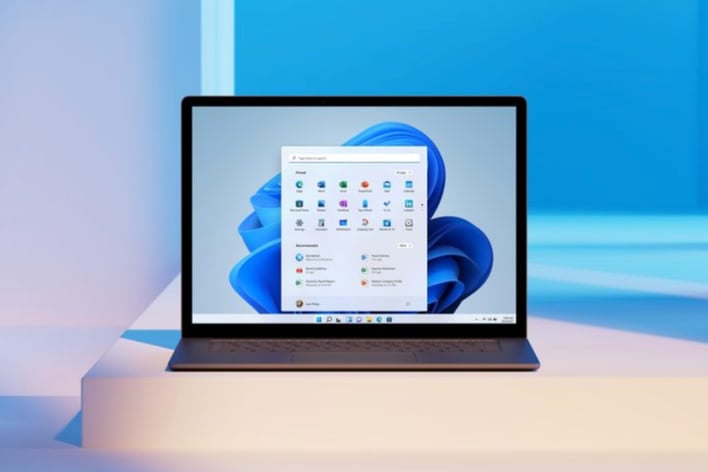
Here’s How To Get Your PC Ready For Windows 11
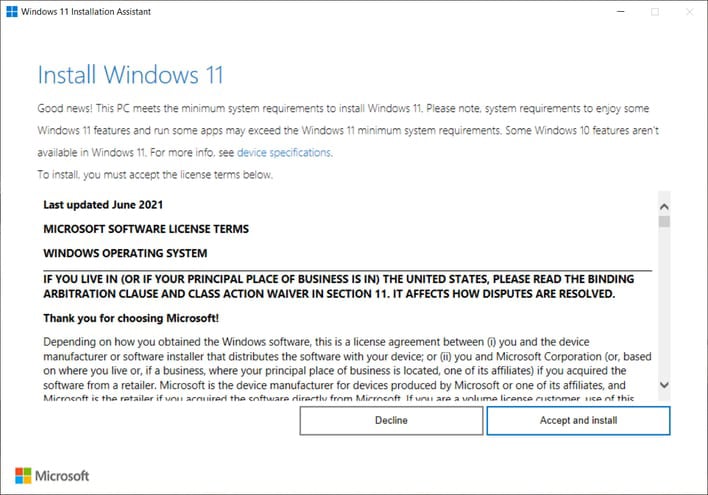
As was the case with Windows 10, Microsoft is offering free upgrades to Windows 11 to virtually anyone with a current, valid license installed on their systems, again assuming it meets the minimum requirements. So, if you’re ready, willing and able to make the switch, Microsoft’s newest OS is just a few clicks away.
In-place upgrades of Windows have become relatively painless in recent years, but anytime major changes are made to an OS deployed on hundreds of millions of systems, there’s bound to be a few hiccups. Windows 11’s installation should be relatively straightforward on the vast majority of compatible systems, but quirks and bugs are bound to crop up once it is fully unleased on the world.
Get Your System Prepped For Windows 11
To help ensure your installation goes as smoothly as possible though, there are a few things we’d recommend doing to get your PC ready. Of course, there’s no guarantee that doing these things will result in a perfectly smooth Windows 11 installation—there are just too many hardware and software configurations in the wild to make that happen. But to prevent stray data or rogue applications from interfering with the installation, following these steps should help.
1) Run the PC Health Check Tool to check system compatibility: Microsoft has released a tool that checks for all of the things necessary to run Windows 11 – it’s available for download here. It will check for Secure Boot compatibility, TPM 2.0 support, and check the systems CPU, memory and storage. If any one of those thing isn’t up to snuff, the PC Health Check tool will show you right away.
2) Update all of your drivers: Compatible GPU, network, sound, and chipset drivers are all vital to ensure a stable, well-behaved OS. Before installing Windows 11, check all of these components – and any other vital accessory for your system – for Windows 11 compatible drivers and install them as necessary.
3) Install updates for your critical applications: Although it is unlikely given the underlying similarities with the operating systems, some of your applications / programs may not be compatible with Windows 11. Launch your most commonly used / critical applications and check if any updates are available. Update options are usually listed in the Help or About menus, or you may receive notifications in your system tray.
4) Purge Junk Temp and Prefetch Data: It’s not supposed to happen, but overloaded temp folders, which unnecessarily chew up considerable disk space, can occasionally cause problems with software installations. Reboot your PC, delete the files inside these folders, and then empty your Recycle Bin:
C:\Windows\temp
C:\Windows\prefetch
C:\Users\<<username>>\AppData\Local\Temp
C:\Windows\SoftwareDistribution\Download
A program like CCleaner can also be useful for wiping extraneous temporary data / files from a drive.
After you’ve purged all of that temporary data, perform a disk cleanup on your C: drive to rid it of other temp files and junk data that’s no longer needed.
To initiate a disk cleanup, launch File Explorer, highlight your C: drive, right-click on your C: drive, choose properties from the menu, and then click on the ‘Disk Cleanup’ button shown on the General tab in the properties window that opens. When the Disk Cleanup tool launches, click on ‘Clean Up System Files’ at the bottom, and then wait a few moments for the tool to scan your system and relaunch. When it does, tick all of the boxes listed in the ‘Files to delete’ pane, and then click OK.
The Disk Cleanup operation will purge even more unnecessary data and free up some space on your drive.
5) Restart your PC: This one may be obvious to most of you, but don’t proceed with your Windows 11 installation without first restarting your PC. And when it fully boots, don’t run any programs or leave anything running in the background before initiating the Windows 11 install. Although Windows has gotten better over the years, there are occasional file / folder access and memory issues that can be resolved with a simple reboot.
6) Temporarily disable Anti-Virus / Anti-Malware programs: After you’ve restarted your system, updated your apps, and freed it of junk data, disable your anti-virus program before proceeding with the Windows 11 installation. Anti-virus programs can interfere with software installations and the last thing you want is an AV program throwing off the installation of major operating system update.
If you’ve made the move to Windows 11, let us know how it went in the comments below. If you ran into any issues or found useful workarounds for any pitfalls, we’d love to hear about them.