How To Reclaim Precious Disk Space Following Windows 10 May 2020 Update
The Windows 10 May 2020 update came a little later than anticipated last month. Some users were not only surprised by the late release date, but also by the amount of disk space that was lost with the update. With that in mind, here are a few ways that you can free up disk space after the installation of the Windows 10 May 2020 update.
All of the following methods involve deleting older versions of Windows 10, and as always, use caution and common sense whenever you delete files. We generally discourage simply hopping into File Explorer and deleting directories; Windows is a complicated operating system and should be treated as such. The following methods should address any hidden dependencies there may be on these files.
Storage Sense
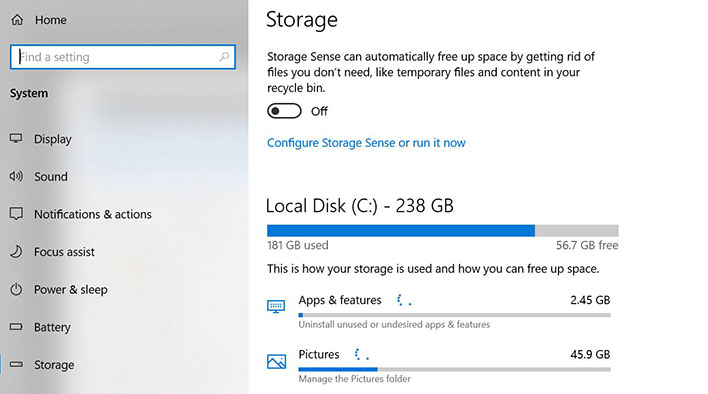
The first method involves Storage Sense, a tool that can “automatically free up space by getting rid of files you don’t need…” Users will first want to head to Windows Settings and click on “System”. The “Storage” link will appear about halfway down the list on the left side. Users should click on “Storage” and the option to “Configure Storage Sense or run it now” will be right on top. Users should then click on the “Free Up Space Now” option, which should be the last option on the page. Users can then click on “Delete previous versions of Windows”, followed by “Clean now.”

Disk Cleanup
The second method is a “Disk Cleanup”. Users will first want to click on the Start menu and then type in “Disk Cleanup”. The users will want to click on the app and then select “Clean up system files.” The “Clean up system files” option will be in the bottom left-hand corner. Users will then need to wait a little bit to then be presented with a list of files that can be deleted. Users should scroll through the list and select previous Windows installations and any other files that the user is comfortable with getting rid of. Finally, the user should select “OK” and wait for the app to finish its work.

Temporary Files
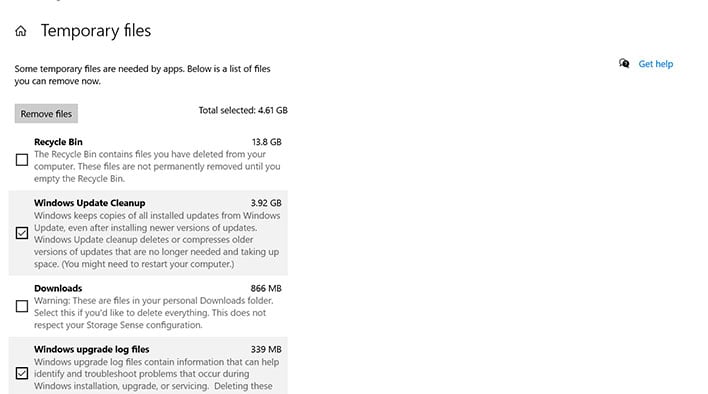
The last method involves “Temporary Files”. Users should follow the same first few steps as if they were using the Storage Sense method. Instead of selecting “Configure Storage Sense or run it now”, users will want to scroll down and select “Temporary Files”. Users should then select “Previous Windows installations” as well as any other files that they are ready to delete. Once the user has made their selections, they can click “Remove Files”.
The release of the May 2020 Update for Windows 10 has been staggered over the last few weeks, and there are still some users who have yet to receive the update. You can check out our article here to force the latest Windows 10 update to install on your PC. However, before you install the update, make sure to review the list of confirmed issues. Microsoft advises users to wait until fixes have been applied if any of these May 2020 Windows 10 Update issues may affect you.
The release of the May 2020 Update for Windows 10 has been staggered over the last few weeks, and there are still some users who have yet to receive the update. You can check out our article here to force the latest Windows 10 update to install on your PC. However, before you install the update, make sure to review the list of confirmed issues. Microsoft advises users to wait until fixes have been applied if any of these May 2020 Windows 10 Update issues may affect you.