Windows 11 Update Causing BSODs? Here's A Possible Workaround

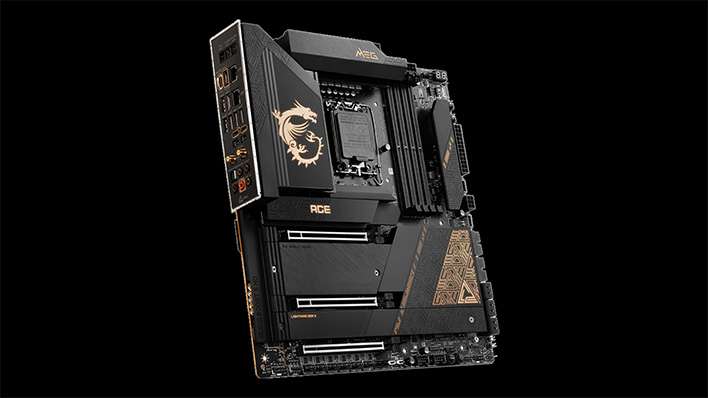
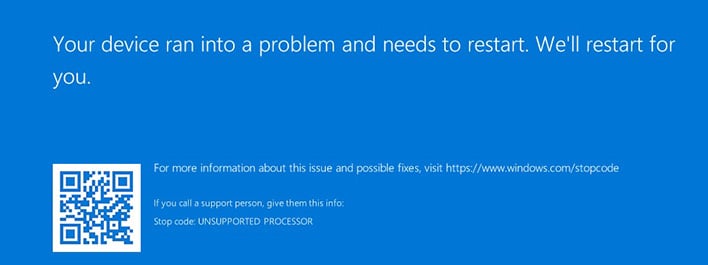
Microsoft’s latest preview update for Windows 11, marked as "KB5029351", is crashing some PCs running current-generation computer hardware and creating BSODs with a stop code saying “unsupported processor”. Based on user reports, the issue appears to be primarily affecting systems with current-generation MSI motherboards, whether for Intel or AMD CPUs. We’re not sure exactly why this is the case, but if you have a modern MSI system, it would be best to hold off on this update for now. The good news is that the update is optional so it will not automatically install on your machine. Microsoft is aware of the problem and actively investigating the issue to see if the problem is part of the Windows update or caused by something else, like a bad BIOS update.
The new optional update appears to be especially problematic with 13th Gen Raptor Lake CPUs as well as MSI-built 600 and 700 series chipset motherboards, with multiple users reporting BSODs with the new update on this hardware. Our best guess is that, based on the “unsupported processor” STOP code, this could be a conflict with MSI’s firmware and system code affecting Windows 11’s system requirements. If you didn’t know, Windows 11 has a specific list of CPUs that it supports from Intel, AMD, and others that goes beyond the typical TPM requirements Windows 11 is known for having.

If you make it to the automatic repair screen, head over to the troubleshoot tab then advanced options menu. From there, open a command prompt window and type the following command: "wusa /uninstall /kb:KB5029351" (without quotes). Then, restart your computer. Hopefully, this will resolve the issue if the automatic repair was unsuccessful.
Fingers crossed that Microsoft gets to the bottom of this issue quickly so that more users aren’t affected, but again, the update is optional at the time of writing, so it's not something you should be worried about unless you’re in the habit of installing every single Windows update you see in the Settings app.

