ASUS Z170 ROG Maximus VIII Extreme Motherboard Review: An Impressive Platform For Skylake
ASUS Z170 ROG Maximus VIII Extreme BIOS & Overclocking
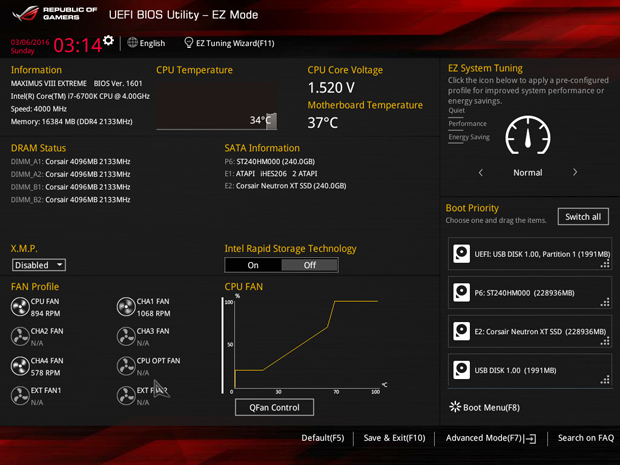
The Asus UEFI BIOS environment is largely unchanged since we last visited it. It remains one of the most intuitive and well-designed UEFI environments on the market in our opinion. The company is most definitely targeting high-end enthusiasts who are well-seasoned DIY'ers that won't flinch when faced with several pages of BIOS tuning options. Less-savvy tinkers take note, like the Asus Sabertooth X99 TUF and the X97 motherboards we've previously looked at, the Z170 ROG Maximus VIII Extreme features an EZ Mode for simple and intuitive tuning options and quick at-glace system monitoring of vitals, fan profiles, and more. The mode features pre-set performance profiles including Normal, Quiet, Performance and Power Saving.
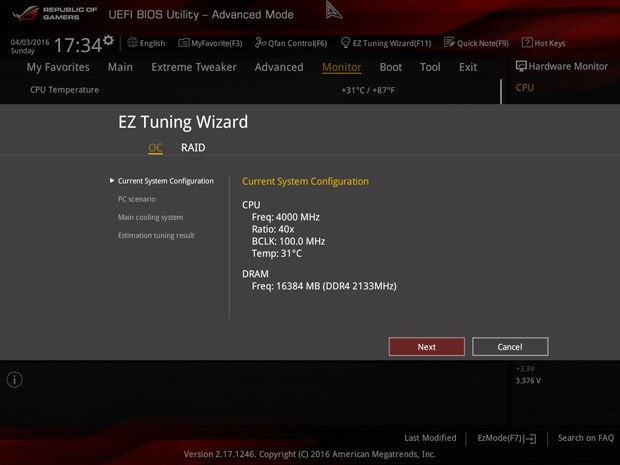
However the Advanced Mode UEFI BIOS environment is where the more adventurous overclockers and system tinkerers will venture for more detailed hands-on tweaking. Once in, users will find eight sections each housing a variety of tuning options for the board itself and the OC Panel II.
The AI Tweaker section is where the lion’s share of your CPU and memory tuning options are found and where we did the bulk of our overclocking. Without hesitation we synced all cores and quickly dialed the multiplier to 46 and set the BLCK frequency to 100 (100.0 x 46) pushing our Skylake CPU to a 4.6GHz overclock—a decent jump from the processor's default 4.0GHz. We also overclocked our memory from the default 2133MHz to the max recommended speed of 2666MHz. We used this for our OC benchmark testing since this is the same max memory OC we achieved on our previously tested Z170 boards.
But the Z170 ROG Maximus VIII Extreme had more to give. We kept dialing up that core ratio until we encountered some instability at 5.0GHz. We were able to boot to the desktop at the speed but PCMark 8 froze moments after launching. We dialed things down to 100 x 49 for an effective 4.9GHz, and PCMark 8 seemed to run fine. But the temps shot through the roof with our setup and we encountered some throttling. We settled at 4.8GHz with rock solid stability. We were able to complete our PCMark 8 suite of tests without a hitch and do some gaming, with temps only reaching the mid-70’s on max load. We're fairly certain 5.0GHz is obtainable on Skylake with this board with a bit more care and effort and definitely more adequate cooling. The board clearly has more to yield with the right mix of cooling components. Nonetheless, 4.8Ghz with a simple ratio-based overclock and auto volt settings is impressive.
The Asus UEFI BIOS is home to a host of other cool features such as the handy Q-fan control. Something similar is sorely lacking on the current Gigabyte UEFI BIOS environment. The Q-Fan allows you to manually set fan speeds and at what temperature they should kick up or slow down. You can then save these settings to a profile. You also get a set of standard profiles to choose from for simpler tweaking.
There is a Graphics Card Information page that lists your GPUs by name, manufacturer and at which lane speeds they are operating. It also offers recommendations for which multi-GPU configurations is best based on the cards installed.
The Asus ROG UEFI BIOS, is one of the most comprehensive on the market, and because it can be presented to users either in an EZ Mode or a more complex Advanced Mode, it caters well to both beginning DIY'ers or long-time, hardcore overclockers.


