TONOR Q9 USB Microphone Kit Review: Affordable, Quality Audio
The TONOR Q9 USB Microphone Kit Offers Good Quality And Is A Great Value
This is undoubtedly the year of video conferences and virtual meetings. Perhaps nothing makes one of these conferences more insufferable than someone’s scratchy, low-quality integrated microphone -- and the last thing you want is for that scratchy mic to be yours. Fortunately, upping your microphone game can be very easy. You do not need to dive into the expensive world of audio interfaces, mixers, and XLR cables to see a massive improvement. The TONOR Q9 USB microphone kit we'll be showing you here provides everything necessary to step up your audio production quality for a very attractive price.
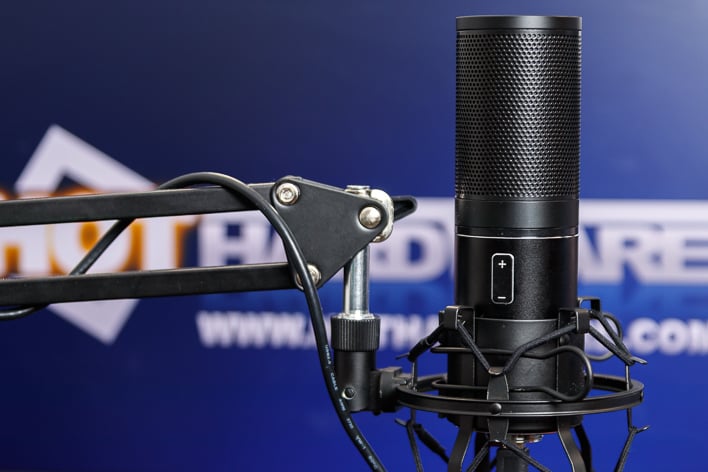
The TONOR Q9 uses a cardioid condenser capsule which is ideal for calls, voice-overs, and other spoken word, but can be used for music recording as well. It features a 16mm diaphragm, adequate 20Hz to 20KHz response, and an integrated sound chipset. Unlike an XLR microphone, the TONOR Q9 does not require an interface or mixer to use with a PC. However, this does mean the audio is effectively “baked in" with less leverage for post processing effects. That should not be a concern for most users who are just looking to move on from integrated microphones, however.
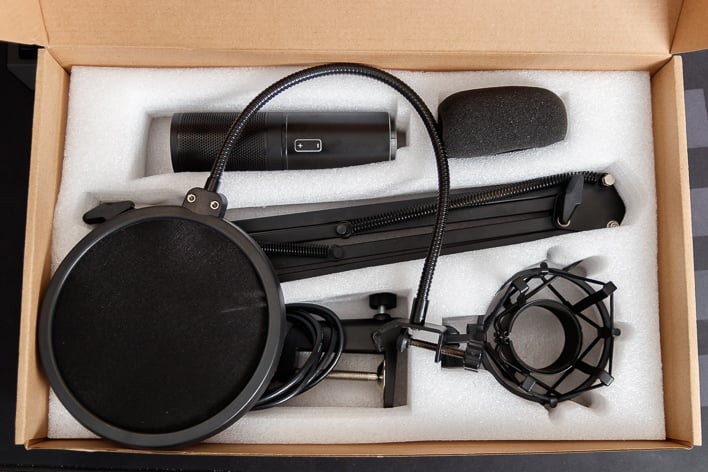
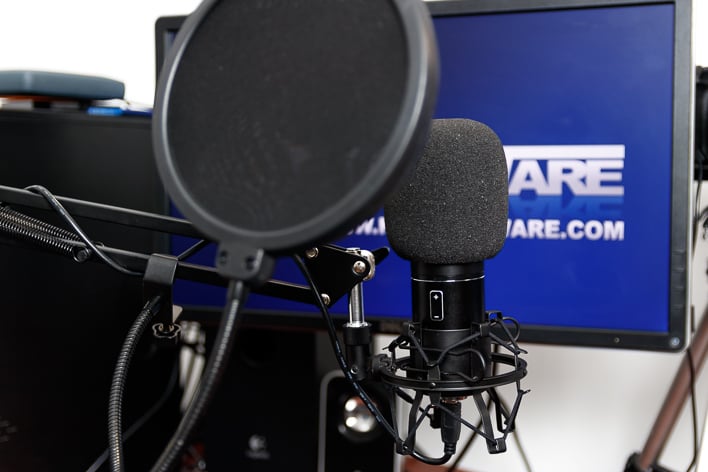
The kit includes the TONOR Q9 microphone itself, a shock mount, a spring-loaded scissor arm, USB A-to-B cable, foam windscreen, and a pop filter. For basic operation, the setup consists of the following steps:
- Mounting the scissor arm on a desk
- Threading the shock mount to the end of the arm
- Sliding the TONOR Q9 into the shock mount
- Running the USB cable from the microphone to an open USB port
The included USB cable measures 1.8 meters (about 6 feet). This is plenty long enough to wind through the suspension scissor arm and reach the PC in most setups. If needed, the cable can be extended with a simple USB extension cable or outright replaced with a longer USB A-to-B cable.
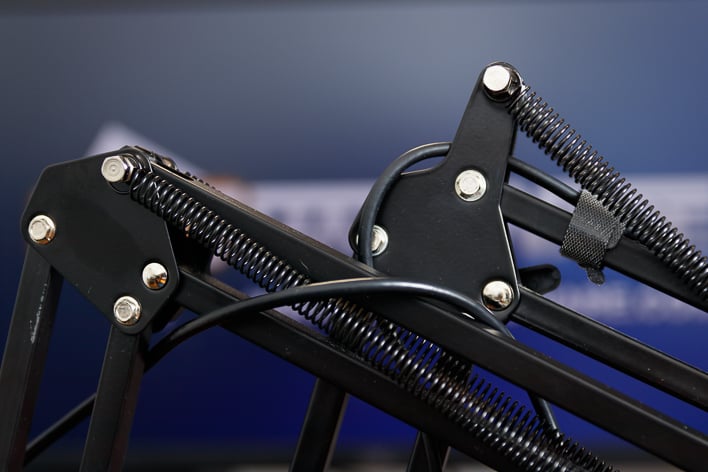
The scissor arm has a good range of motion with extension up to 27.5 inches (700 millimeters) high. The base can be mounted on desks up to 1.7 inches (45mm) thick. If we were to nit-pick, the upper spring could use a stand-off extension at the joint to refine its mobility. The InnoGear Microphone Arm we own for the Blue Yeti has this extension and is much easier to raise and lower. However, for the price we are happy to overlook this on the arm included with the TONOR Q9. It does the job.
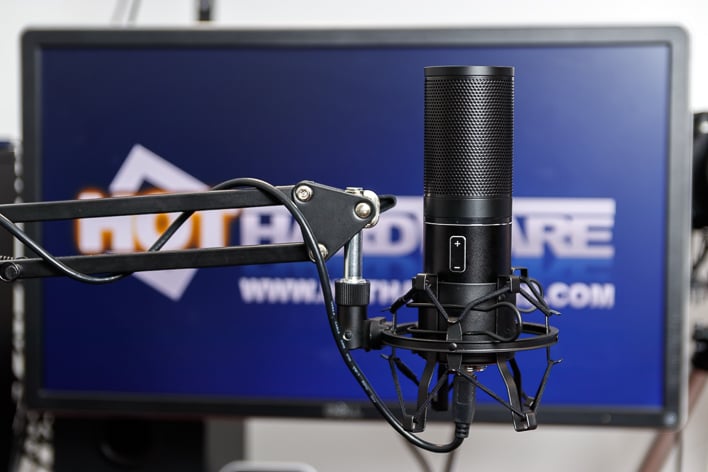
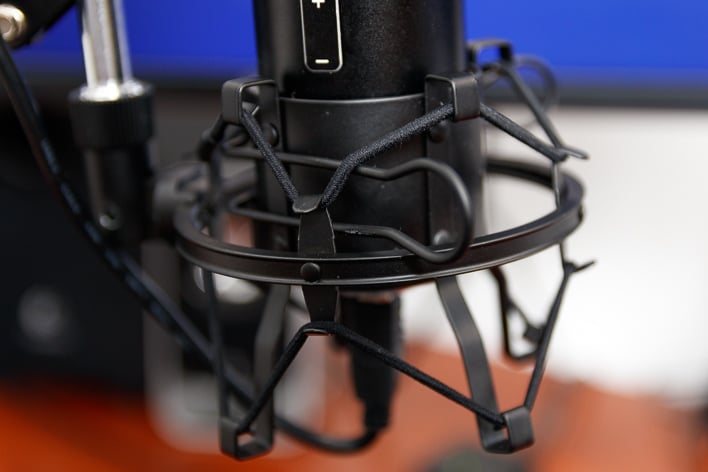
We cannot say as much about the shock mount. While the shock mount itself is metal and does a great job of eliminating vibrations, the elbow joint is quite finicky. It pops loose easily under the weight of the microphone unless it is locked down tightly at very particular angles. We did find if we removed the screw and reversed the swing, that it stays put much better. Nevertheless, this issue is unavoidable as there is no way to mount the microphone without the shock mount. We hope it is quickly addressed to minimize the annoyances it may cause some users.
If desired, the foam windscreen can be placed over the microphone and the pop filter can be affixed to the scissor arm. The foam windscreen is of decent quality and there is little reason not to use it. Unfortunately, the pop filter has a few issues. It is rather bulky which can get in the way of a camera shot. More concerning, the wire arm it uses is difficult to position. It does not stay in place at many orientations and its screw-in base to the clamp does not hold tight. We have had these issues with other pop filters of this style and ultimately stopped using them. Thankfully, plosives - the ‘popping’ sound associated with p’s, t’s, and other hard consonants - are not much of an issue with this microphone.
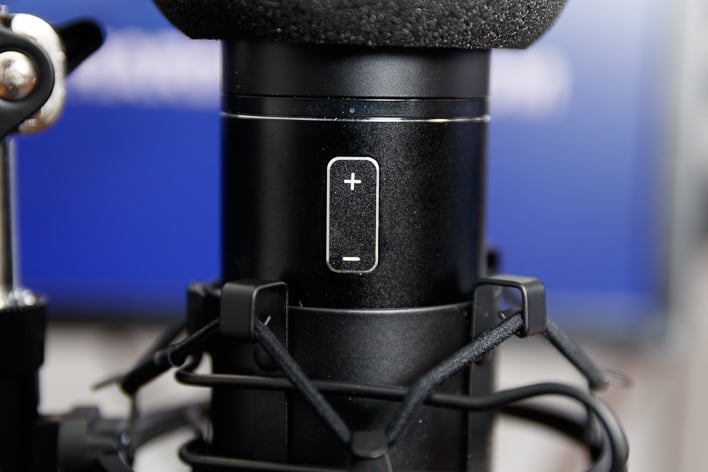
The TONOR Q9 has very simple controls. There is only a gain rocker and it lacks a dedicated mute button. Instead, holding up or down on the rocker will toggle mute. A faint blue LED shines above the rocker when the microphone is active and goes out when muted. We do not like this approach to handling mute. It not only introduces an unavoidable delay, but also increases microphone handling noise. It typically makes more sense to use a software mute button in-application instead.
Unfortunately, the gain rocker also lacks a level indicator. Unlike the Blue Yeti, users cannot directly plug in headphones to monitor their own audio latency-free. The only reliable way to check microphone levels with the TONOR Q9 is to speak and get feedback from those listening. Some programs do offer a visual audio level indicator, but these are often hidden in a menu. An adjustable knob would provide a much better user experience here. On the bright side, each press of the volume rocker makes a noticeable difference in volume output.
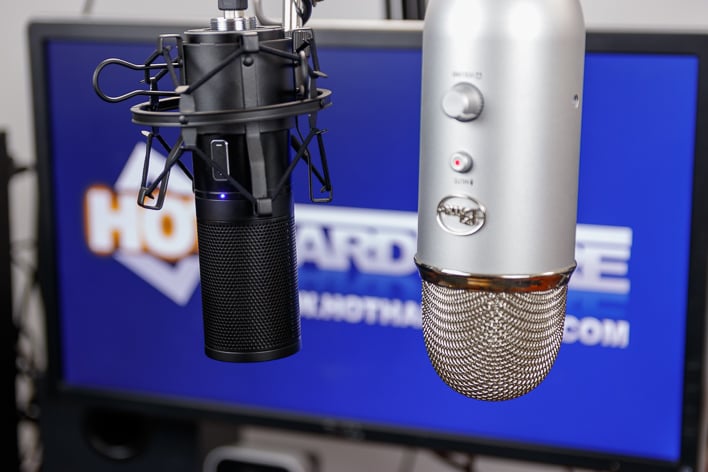
We tested the TONOR Q9 alongside the Blue Yeti. We recorded each pair of samples below simultaneously by using Open Broadcaster Software to place each microphone on a different track and then separated the tracks using Adobe Premiere Pro to export WAV files. Each sample is a read of the One Hen, Two Ducks Announcer's Test. There are samples of both Chris and Brittany speaking. One set of recordings was taken with ambient room noise (~33dB) while a second set was taken with a window air conditioning unit running (~51dB measured at the microphones) to simulate excessive background noise. The room is not treated for audio and the pop and wind foam filters were not used.
Chris with ambient room volume
- TONOR Q9
- Blue Yeti
- TONOR Q9
- Blue Yeti
Chris with window AC running
- TONOR Q9
- Blue Yeti
Brittany with window AC running
- TONOR Q9
- Blue Yeti
Two and a Half Geeks Podcast with Chris using the TONOR Q9
I have been using the TONOR Q9 as my primary microphone for the Two and a Half Geeks podcast for our last few casts. It does not provide as much vocal presence as the AT2020s used by Dave and Marco, but still mixes well enough. The obvious issue that does crop up time and time again is my inability to monitor my own audio levels. At the start of the cast, the gain was set too low but it does get mostly corrected within the first five minutes.
Despite some faults, we are actually quite impressed by the TONOR Q9 kit. The sweetest part of this setup is its price. The ~$65 pricetag for the kit is very competitive. Many similarly priced kits are available on Amazon, but few appear to have any gain or mute controls at all. We think this leaves the TONOR Q9 as one of the more sensible budget kit options available. Users who have simple microphone needs are likely to be very satisfied with it.

|
|

