Streacom DB-4 Silent Kaby Lake Media PC Build: The Sound Of Silence
Streacom DB-4: Build Part I
Let’s jump right into assembling our system. The first step to get inside the DB-4 is to unscrew the four hex screws which hold the acrylic lid in place. The screws are held in place with a plastic ring on the underside so don’t worry about removing them outright.
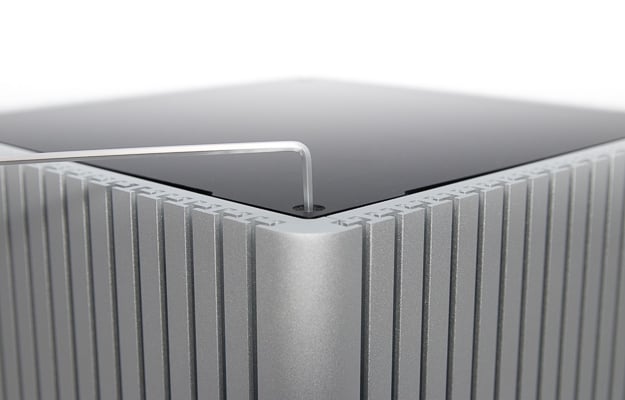
The lid sits on springs in the corners so it lifts up for easy removal.

Inside we can see the motherboard tray and a few stray cables. We need to get the side panels off, so loosen the four thumbscrews at the top of each side.
With a firm grasp, lift one of the side panels and then swing it open from the rounded end to remove.
Proceed to remove the remaining three sides in the same manner and set them all aside for now.
Optionally, we can remove all the universal brackets to start which will make later component installations easier. You can also work around them with a little more fiddling so it is up to you.
We now need to get the motherboard tray extracted. Go ahead and fully remove the two screws holding it in place, then lift the tray up and out.
The build is easier if we put the powersupply in place first. For the ZF240 PSU, we first need to remove the IEC plate as it will be replaced by the ZF240’s socket.
We will use one of the universal brackets to hold it in place with two PTC-M3x5 screws. We want the PSU to be oriented parallel with the motherboard tray and with cables coming out of the top side.
Now align the ZF240’s socket to its opening in the bottom panel and secure it in place.
If you are installing multiple drives, add them in now with the necessary cables, but for our build we will only need the 24-pin motherboard and 4-pin CPU cables. The rest of the power cables can be zip-tied to the frame to keep things neat.
We can now shift our attention to the motherboard...

The lid sits on springs in the corners so it lifts up for easy removal.

Inside we can see the motherboard tray and a few stray cables. We need to get the side panels off, so loosen the four thumbscrews at the top of each side.

With a firm grasp, lift one of the side panels and then swing it open from the rounded end to remove.

Proceed to remove the remaining three sides in the same manner and set them all aside for now.

Optionally, we can remove all the universal brackets to start which will make later component installations easier. You can also work around them with a little more fiddling so it is up to you.

We now need to get the motherboard tray extracted. Go ahead and fully remove the two screws holding it in place, then lift the tray up and out.

The build is easier if we put the powersupply in place first. For the ZF240 PSU, we first need to remove the IEC plate as it will be replaced by the ZF240’s socket.

We will use one of the universal brackets to hold it in place with two PTC-M3x5 screws. We want the PSU to be oriented parallel with the motherboard tray and with cables coming out of the top side.

Now align the ZF240’s socket to its opening in the bottom panel and secure it in place.


If you are installing multiple drives, add them in now with the necessary cables, but for our build we will only need the 24-pin motherboard and 4-pin CPU cables. The rest of the power cables can be zip-tied to the frame to keep things neat.

We can now shift our attention to the motherboard...


